| [ Team LiB ] |
|
J2EE Connector Architecture ExampleThe first J2EE Connector Architecture example found under the JDBC directory on the CD uses a simple sample resource adapter from Sun Microsystems to connect to a database. The second example uses the resource adapter from SAP to connect to an SAP system and retrieve materials. Both examples contain two JSP files, one for input and one for output, which are included in a Web application that uses an EJB to talk to the J2EE-CA adapter. The first example inserts records and sends the contents out to a screen for display. The second example enables you to query SAP for materials (if you have an SAP system available, that is). The associated instructions enable you to become familiar with deploying a resource adapter in WebLogic. You can also familiarize yourself with the configuration and look at the sample code used to connect to resource adapters. The following is a JDBC example. You might be wondering, "Aren't there JDBC drivers for doing this?" Yes, there are, and this adapter is a demonstration of how to write one. We're using this kind of adapter because you probably don't have an EIS server running on your development computer, and it would be impossible for you to really learn about J2EE-CA without deploying one. Setting Up the JDBC ExampleTo compile and run the example, a database is required. We'll use the PointBase EXAMPLES.BANDS database for our example. PointBase comes with WebLogic Server 8.1, but it has to be started. The command to start PointBase is
<weblogic home dir>\common\eval\pointbase\tools\startPointBase.cmd
This command should be placed in your startup script for WebLogic Server. After the database has been installed, download the source directory into the temporary directory of your choice. In the source directory are three directories and two XML files: application.xml and build.xml. Each directory contains a separate component, as listed here:
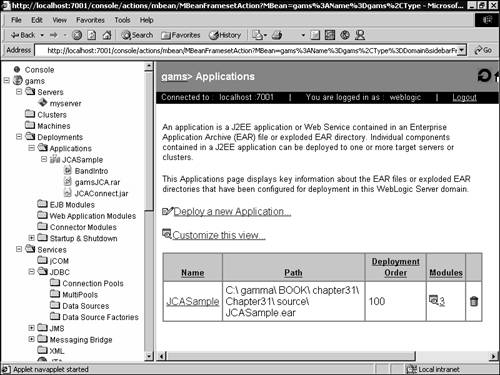
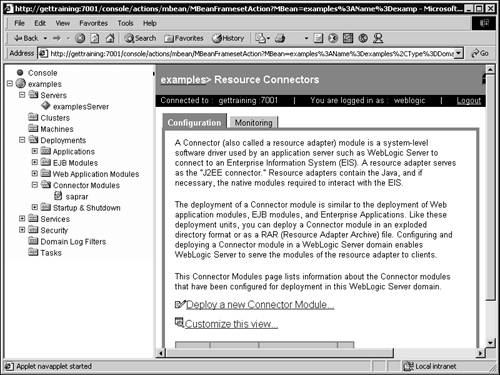
The build.xml file is an Ant script that builds and packages the entire application. This file needs the location of the weblogic.jar file to compile the EJB. This is set up in the weblogicjar property at the beginning of the file. Also, make sure the bin directory of your JDK is in your PATH for compilation. To deploy the application, start the WebLogic console. The default location is http://localhost:7001/console. Go to the correct server on the domain and deploy the application EAR file as shown in Figure 31.7. Figure 31.7. WebLogic console application deployment.
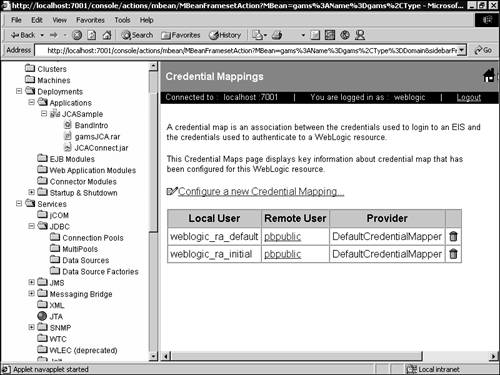
After the application has been deployed, create a credential mapping for the J2EE-CA to log in to the database. This is done by simply right-clicking on the gamsJCA.rar tree node on the left interface. Choose the last selection labeled Define Credential Mappings as shown in Figure 31.8. Figure 31.8. WebLogic resource adapter credential mapping screen.
Once you're inside, define a default credential mapping for the local user (weblogic_ra_default) and the remote user (pbpublic with the password pbpublic). After these have been defined, you can run the application to insert bands into a database and display all the bands in that database as shown in Figures 31.9 (the input screen) and 31.10 (the output screen). Figure 31.9. Band input screen.
Figure 31.10. Band output screen.
Setting Up the SAP ExampleThe second example requires SAP system access and the ability to obtain the SAP resource adapter and the SAP Java Connector (JCo) version 2.0 or greater. The resource adapter and Java Connector are free for all of SAP's partners and customers. They are available from a secured SAP site at http://service.sap.com/connectors. After obtaining the resource adapter, it must be configured for use with WebLogic and your SAP system. The following steps must be followed:
|
| [ Team LiB ] |
|