Previous Page
Next Page

Triggering Rollovers from a Link

In earlier examples, the user triggered the rollover by moving the mouse over an image. But you can also make a rollover occur when the user points at a text link, as in Figures 4.6 and 4.7. The HTML is an unexciting page with one link and one image, shown in Script 4.6. We'll do the rollover by modifying the script used in previous examples, as in Script 4.7.

Figure 4.6. The text link is the triggering device for this rollover.


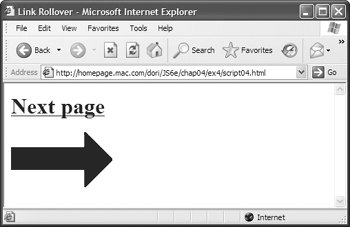
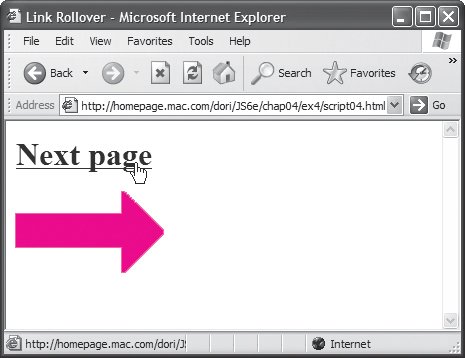
Figure 4.7. When the user points at the link, the graphic below changes.


Script 4.6. This script shows the HTML for a rollover from a text link.

<!DOCTYPE html PUBLIC "-//W3C//DTD XHTML 1.0 Transitional//EN">
<html xmlns="http://www.w3.org/1999/xhtml">
<head>
     <title>Link Rollover</title>
     <script src="script04.js" language= "javascript" type="text/javascript"></
script>
</head>
<body bgcolor="#FFFFFF">
     <h1><a href="next.html" id="arrow"> Next page</a></h1>
     <img src="images/arrow_off.gif" width="147" height="82" id="arrowImg" alt="arrow" />
</body>
</html>

Script 4.7. Here is the JavaScript for a rollover from a text link.

window.onload = rolloverInit;

function rolloverInit() {
     for (var i=0; i<document.links.length; i++)
{
        var linkObj = document.links[i];
        if (linkObj.id) {
           var imgObj = document.getElementById(linkObj.id + "Img");
           if (imgObj) {
              setupRollover(linkObj,imgObj);
           }
        }
     }
}

function setupRollover(thisLink,thisImage) {
     thisLink.imgToChange = thisImage;
     thisLink.onmouseout = rollOut;
     thisLink.onmouseover = rollOver;

     thisLink.outImage = new Image();
     thisLink.outImage.src = thisImage.src;

     thisLink.overImage = new Image();
     thisLink.overImage.src = "images/" + thisLink.id + "_on.gif";
}

function rollOver() {
     this.imgToChange.src = this.overImage.src;
}

function rollOut() {
     this.imgToChange.src = this.outImage.src;
}

To trigger a rollover from a link:

1.
function rolloverInit() {
  for (var i=0; i<document.links. length; i++) {


After beginning the rolloverInit() function, we start a loop, much like previous examples in this chapter. But there we were looking for images (document.images.length), and here we're looking for links (document.links.length). The loop begins by setting the counter variable i to zero. Every time around, if the value of i is less than the number of links in the document, increment i by 1.

2.
var linkObj = document.links[i];


We create the linkObj variable and set it to the current link.

3.
if (linkObj.id) {
  var imgObj = document.getElementById(linkObj.id + "Img");


If linkObj has an id, then we check to see if there's another element on the page that has an id that's the same plus Img. If so, put that element into the new variable imgObj.

4.
if (imgObj) {
  setupRollover(linkObj,imgObj);


If imgObj exists, then call the setupRollover() function, passing it the link object and the image object.

5.
function setupRollover(thisLink, thisImage) {
  thisLink.imgToChange = thisImage;
  thisLink.onmouseout = rollOut;
  thisLink.onmouseover = rollOver;


The setupRollover() function begins with the link and image parameters that were passed to it in step 4. Then we add a new property, imgToChange, to the link object. JavaScript needs some way of knowing what image is to be changed when the link is moused over, and this is where it's stored. The next two lines have event handlers that call the rollOut and rollOver functions when they're triggered.

6.
function rollOver() {
  this.imgToChange.src = this.overImage.src;
}
function rollOut() {
  this.imgToChange.src = this.outImage.src;
}


When rollOver and rollOut are called, they're slightly different from the previous examples in this chapter: now, this.imgToChange.src is being reset instead of this.src itself.

Tip

  • This technique is useful when you want to provide the user with a preview of what they will see if they click the link at which they are pointing. For example, say you have a travel site describing trips to Scotland, Tahiti, and Cleveland. On the left of the page could be a column of text links for each destination, while on the right could be a preview area where an image appears. As the user points at the name of a destination, a picture of that place appears in the preview area. Clicking the link takes the user to a page detailing their fabulous vacation spot.


Previous Page
Next Page