|
|
< Day Day Up > |
|
C.1 The BasicsTo use phpMyAdmin to access your database, you need a username and password that are valid for connections from your web server. Your web server might be on the same machine as your MySQL server, in which case, obviously, the user only needs to be able to access the server from localhost. Once you have logged in using a valid user account, you will see something that looks like Figure C-1. Figure C-1. phpMyAdmin start page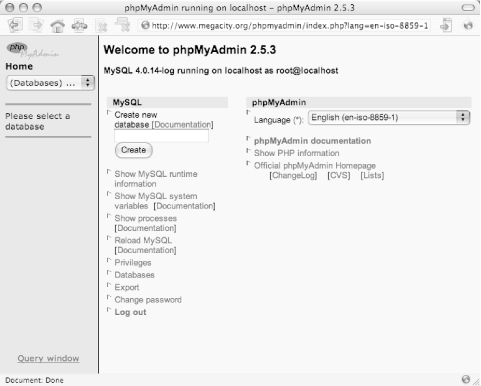 As you can see in Figure C-2, there are some links to basic server information. Via the Status link, phpMyAdmin provides a way to see the status of your server without logging into it and issuing commands via a command-line interface. Figure C-2. phpMyAdmin Runtime Information screen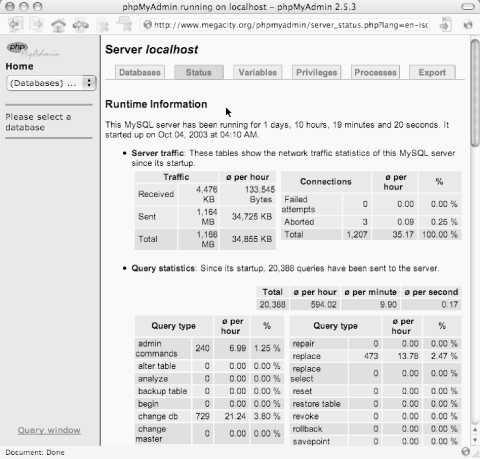 To drill into a specific database, the first step is to select the database name from the pull-down menu on the left menu bar. phpMyAdmin then displays all the tables within that database, as shown in Figure C-3. This page is extremely useful at a quick glance for checking the relative sizes of your tables, which storage engine is used for each table, and the number of records contained in each. Figure C-3. phpMyAdmin after selecting a database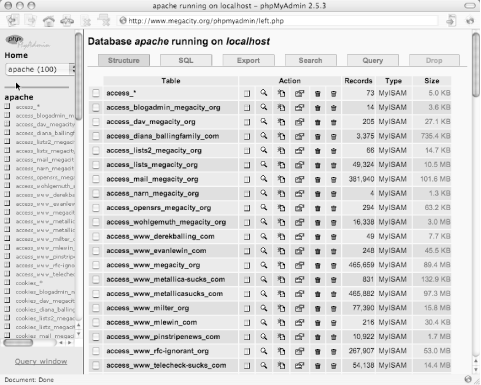 A step-by-step tutorial in how to use phpMyAdmin is outside the scope of this book, but we'd like to show you some common examples of where you might find it useful to have phpMyAdmin installed because it can make your job as the database administrator significantly easier, or at least faster. It can also allow you to grant people access to issue raw SQL commands and perform maintenance without actually giving them a login on the machine or requiring them to use the MySQL command-line interface. |
|
|
< Day Day Up > |
|